The Dataverse Toolbelt allows multiple instance connections to be saved in the app. Once created these connections can be made ‘active’ by clicking the connection button at the top right of the app
Some features such as Query & Update data will load for the current active connection, whereas other like the Solution Transfer feature do not act on the active connection, but require you to explicitly select each connection as you progress through the dialog
Creating a new connection
To create a new connection to a Dataverse instance click the connection button at the top right of the app then select Create New in the dropdown menu

When creating a connection there are 2 options
- Create a connection using the Microsoft SDK Tooling Connector
- Create a connection with a client id and secret saved and encrypted by the app
Create a Connection using the SDK Tooling Connector
To connect using the SDK connector select the Connection Type of Xrm Tooling.

This will pop up a login dialog which is part of the Microsoft SDK assemblies. If connecting to a Microsoft online instance you’ll need to click Office 365 and Show Advanced, then enter username and password before hitting Login. This will then progress through the login including any subsequent MFA process which is required.

This dialog is managed by Microsoft assemblies using the SDK control documented at the link below
https://learn.microsoft.com/en-us/power-apps/developer/data-platform/xrm-tooling/use-xrm-tooling-common-login-control-client-applications?WT.mc_id=DX-MVP-5004940
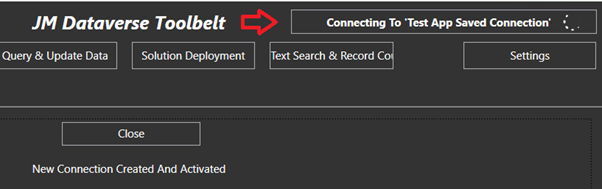
Once the dialog is completed click Next to commit and save to your saved connections

This new connection will now become the active connection

Create a Client / Secret connection for an Application User
To create a client secret connection saved and encrypted by the app, select the Connection Type as Client Secret

In this case client ID and client secret along with the instance web URL are entered directly into the connection form.

Once all details are entered click Next to commit and save to your saved connections. The connection will now become the active connection
Manage Saved Connections
To connect using the SDK connector click the button labelled Use XRM Tooling Connector in the connection entry form
Saved connections can be access in the setting menu on the right of the app header
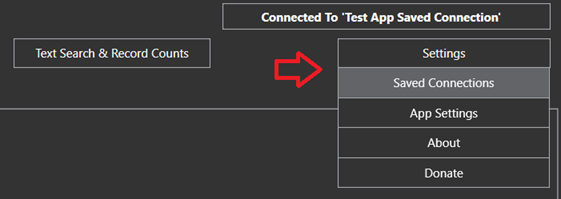
The Saved Connection form can be used to add a connection, open and modify a connections, delete connections, change the active connection, or start a feature dialog for a connection which is not currently active

No changes initiated form this form will be committed to your saved connections until the Save button is clicked. This includes any connections add, modify or remove actions on the grid will not be committed until the forms save button is clicked
